


What happens before the first finish coat
By Marc Sharkey | Dynamic Painting Inc. | Calgary and Airdrie, Alberta
Every durable repaint starts with a decision about the wall that’s already there. Before anyone picks up a roller or opens a can, we need to know what can stay, what needs fixing and how the room’s light is going to show off the result. A repeatable prep sequence turns those decisions into a scope my crew can follow and a homeowner can actually understand.
Start by diagnosing the surface
A dent, a peeling coating and a crack that keeps coming back are three different problems, and each needs a different fix. I look for loose material, old patch edges, contamination and any sign of moisture. Before I specify a repair, I want to know the surface underneath is sound. If there’s an active leak or the wall is still moving, that has to be dealt with first, or no amount of cosmetic work will last.
I also keep the repair scope separate from the colour change. A solid wall that needs a bit of filling is a very different job from one with failed joints or patchy, uneven texture. The time to spot that difference is at the estimate, while the homeowner can still make an informed choice.
Older coatings need checking before anyone disturbs them. Health Canada warns that sanding lead-based paint creates hazardous dust, and that’s a real concern in older homes. If we don’t know what a coating is, it gets assessed first. Hooking up a dust extractor doesn’t make an unknown material safe to sand. [1]
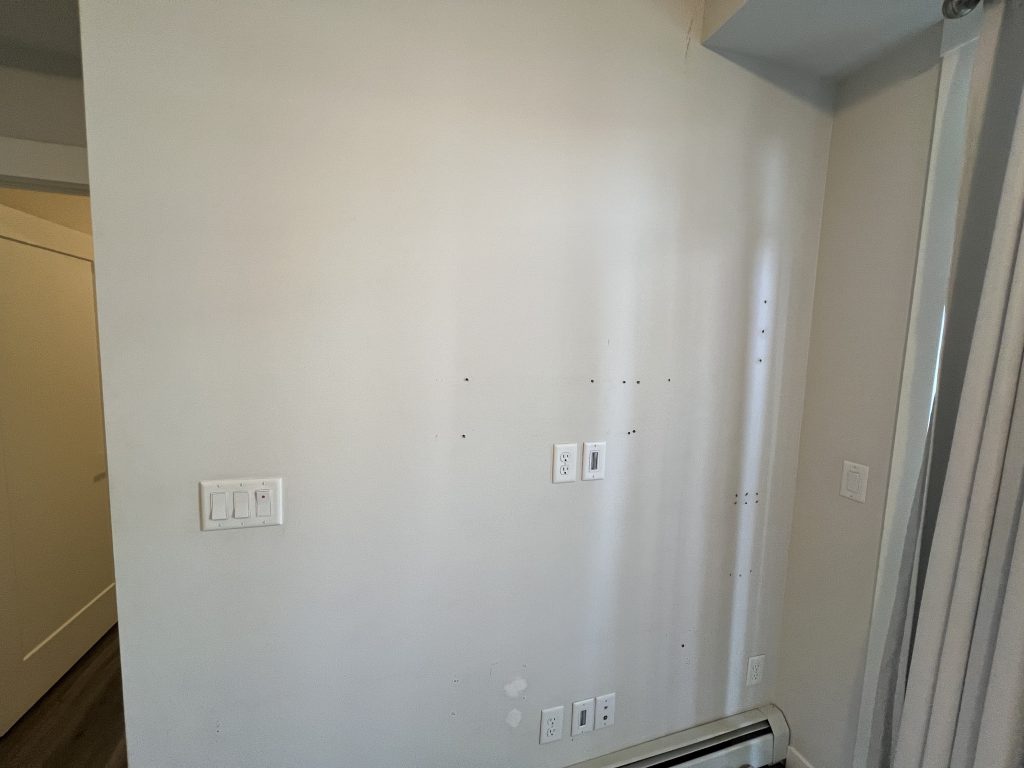
Photo 1. Side light reveals variations in an existing wall with mounting holes and earlier repairs. Assess the whole surface before deciding how much correction it needs. Credit: Dynamic Painting Inc.
Protect the home before the work begins
We settle the practical things up front: which rooms we can access, what furniture moves and where our tools will live. Then we protect the floors and nearby finishes, mask for the way we’ll be applying paint, and remove cover plates where it’s safe to do so. Tape gets chosen for the surface it’s going on, and we test it on anything delicate. Protection also has to stay workable for the whole job. A beautifully covered floor doesn’t help much if the crew has to move everything again just to reach the wall.
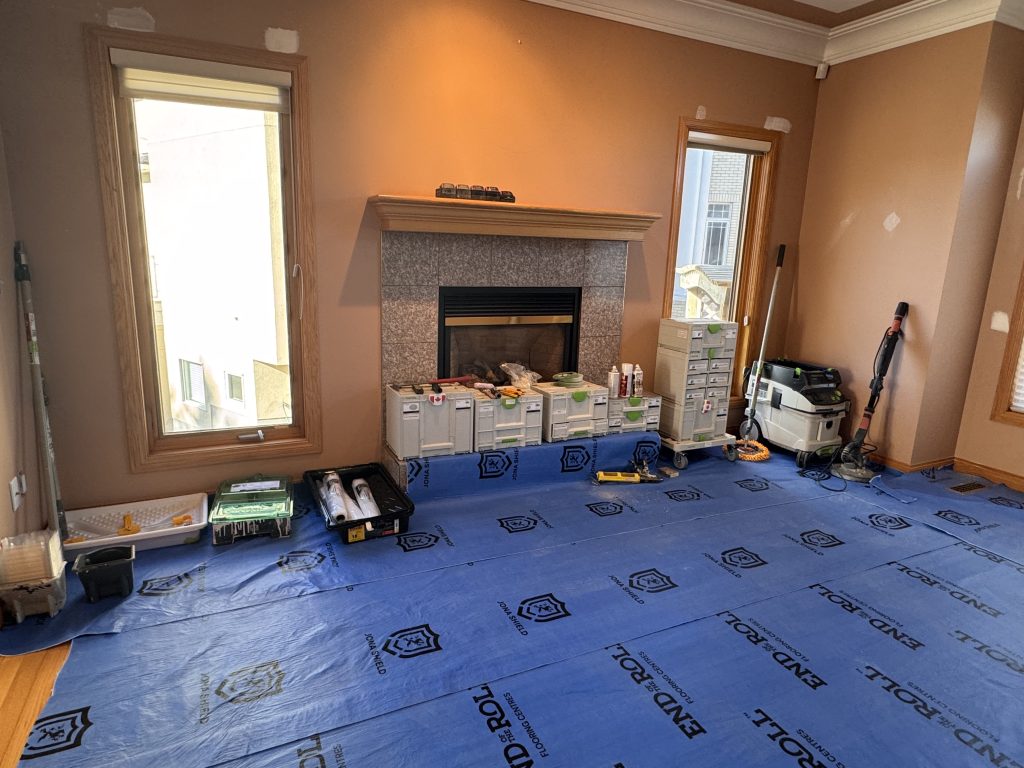
Photo 2. Floor protection, visible wall patches and staged equipment during an interior repaint. Credit: Dynamic Painting Inc.
Match the repair to the substrate
Grease and other contamination come off before any sanding. After that, each repair gets matched to the material underneath it. A shallow dent in a wall may only need a suitable filler. Failed joint tape or damaged drywall calls for a proper repair. Filling over a loose edge just means the next coat ends up stuck to something unstable.
We build repairs up in sensible layers and let each one dry as the product directs. The goal is to feather the patch into the wall around it, without a raised rim or a hollow dug around the edges. Torn drywall paper may need a compatible sealer before any filler goes on. The right order depends on the damage and the repair system, so we follow the product instructions instead of treating every patch the same way. [2]
Choosing a primer is part of the repair, too. Bare filler, exposed wood, a stubborn stain and a hard, glossy existing coating can each call for a different product. A primer that seals a porous patch well won’t necessarily block a stain or grip a difficult finish. [3]
Sand on purpose
Hand sanding gives me control around profiles, corners and small repairs. A power sander makes sense on larger areas that suit it, as long as the abrasive, pad, speed and pressure all fit the surface. I start conservatively and check as I go. Sanding should improve the surface. It shouldn’t round over details, cut through sound material or leave scratches the finish will show.
On suitable sanding work, we connect our sanders to Festool HEPA extractors. Catching dust right at the tool keeps it from spreading, but extraction only works as well as the whole setup, so we check the hose, the pad holes, the bag and the filter. We still clean up afterward and still wear the protection the task requires. [4]
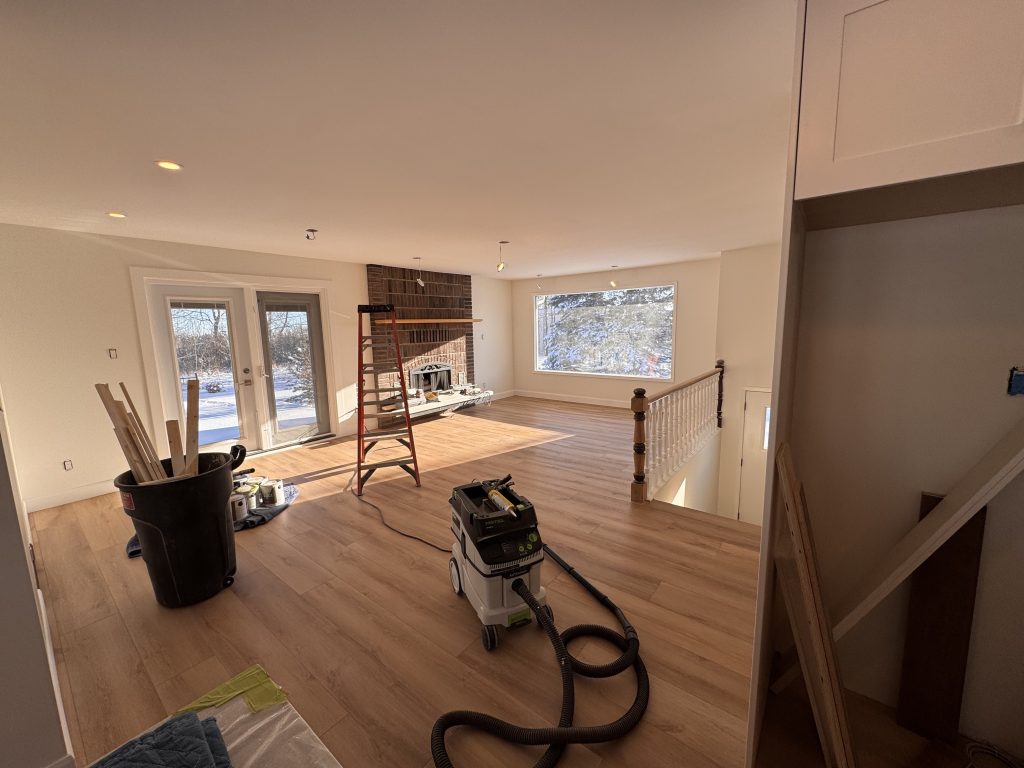
Photo 3. A Festool extractor with its hose and floor attachment in an interior work area. The photograph shows the equipment on site, not sanding in progress. Credit: Dynamic Painting Inc.
Look at the wall in its real light
I walk the room from the doorway and from wherever people will actually be looking at the wall. A wall that looks fine straight on can show every joint ridge and old repair once daylight rakes across it. Big windows and light fixtures close to the wall deserve a careful look before we settle how much prep the job needs.
Side lighting is great for finding defects while there’s still time to fix them. But the finish we agree on should be judged under the room’s normal conditions. An inspection lamp helps us find work to do. It shouldn’t quietly raise the bar at the end of the job.
If there are widespread texture differences or joints that still show, spot patching may not get the result the homeowner is hoping for. That’s the moment to talk about broader surface correction or a skim coat, before any paint goes on. USG recommends a Level 5 finish where lighting and finish conditions are demanding, but even that doesn’t guarantee a perfectly flat wall under every light. And extra coats of paint won’t straighten a ridge in the wall underneath. [5]
Make the switch to coating a real checkpoint
Before primer or paint, we check for leftover sanding dust, loose edges and anything we missed. We clean with a method that suits the surface and let it dry. Dust sitting on a windowsill or along the top of a baseboard has a way of ending up in wet paint.
Repaired or exposed areas get primed as the chosen system requires. Big repairs or a surface that absorbs unevenly may be worth priming more broadly. Then we check the primed repairs again, because primer has a habit of making pinholes and edges easier to see. Anything that shows up gets fixed before we move on, including another round of primer if the fix needs it.
Finally, we make sure the room conditions, the drying time and the manufacturer’s recoat interval all line up for the next coat. A surface that feels dry isn’t always ready. [3]
Check again between coats
The first finish coat brings the wall close to its final colour and sheen, and that makes some defects easier to spot. Once it has dried for the required time, we inspect from the normal viewing positions and take another look at the tricky areas we flagged earlier. We’re looking for grit, missed repair edges, uneven coverage and roller or brush marks.
When we find something, we fix the cause, not just the symptom. An isolated nib gets a light sanding, a cleanup and whatever repair or priming it needs. If a joint ridge is still visible, we decide whether it needs surface correction, because rolling the same spot over and over won’t change its shape.
All of this happens within the coating system we agreed on. The proposal spells out the number of finish coats, based on the colour, the coverage needed and the product instructions, and lists primer separately because it does a different job. Any correction should leave the surface ready for the finish coats still to come.
Finish with a full walkthrough
Once the paint has dried enough to judge, we review everything: edges, coverage and repaired areas, and then the room as a whole. Sometimes a small touch-up shows a slightly different sheen or texture. When that happens, repainting to a natural break, like a corner, usually gives a more even result.
We pull the masking carefully, put back anything we removed, clean up and walk through the agreed scope with the homeowner. We leave the product and colour details along with care instructions that allow for the paint’s full cure time. Anything still outstanding gets written down so everyone knows what happens next.
For me, a good prep system is one my crew can follow and explain. Each step should leave a solid starting point for the next one. By the time the finish coat goes on, all the hard decisions about the wall should already be made.
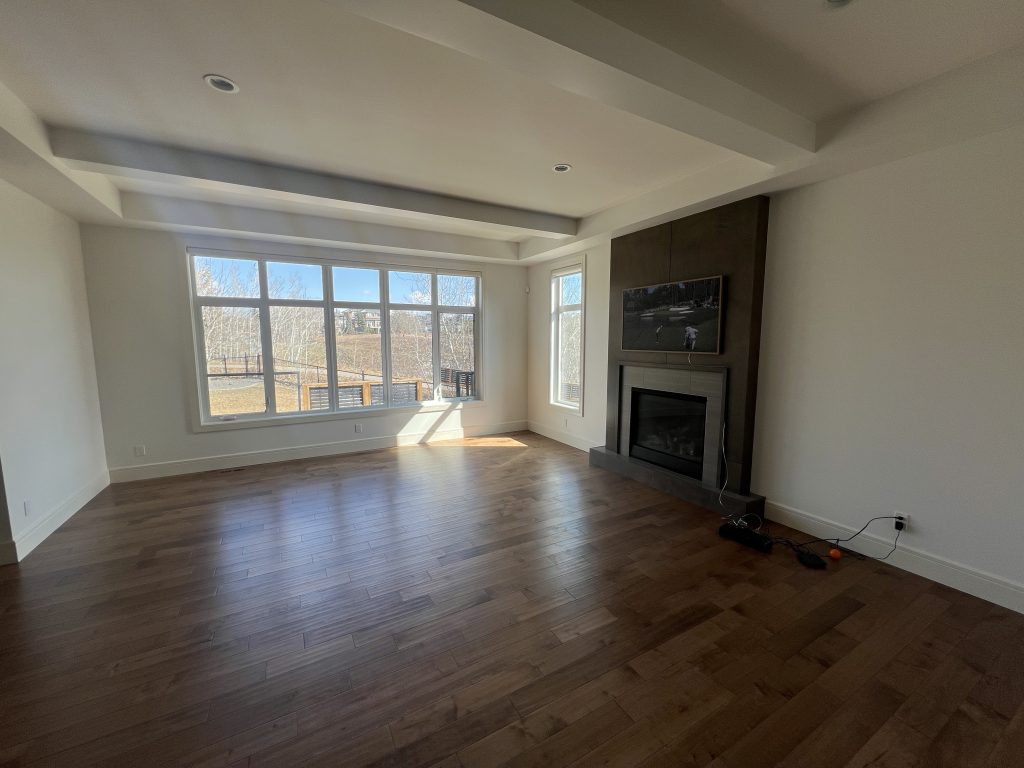
Photo 4. A finished interior with broad daylight, ceiling details and long wall surfaces. Lighting and viewing angles belong in the preparation discussion. Credit: Dynamic Painting Inc.
About the author
Marc Sharkey owns Dynamic Painting Inc., a residential painting contractor serving Calgary and Airdrie, Alberta. The company focuses on interior repainting and also does exterior painting, ceilings, and stucco painting and repairs. Its approach centres on careful surface assessment, thorough preparation and a clear project scope. paintcalgary.ca,
The four photographs are separate project examples, not a before-and-after sequence.
Technical references
- Health Canada — Lead-based paint
- Sherwin-Williams — Paint preparation guidance
- Benjamin Moore — Surface preparation and primer guidance
- Festool Canada — Mobile dust extractors
- USG — Wallboard finished appearance and managing expectations